Ski Edge Replacement and Core Repair
I damaged a pair of Rossignol Phantom SC97s bad enough to crack the core all the way through to the top-sheet. The edge itself was ok; I'm not really sure how the damage happened but this was an area that had been hit on a couple of previous occasions and I had just patched it up. In any case I liked the skis and wanted to keep using them so I decided to attempt to repair the core damage and see if it would hold together.
The usual caveats apply here. I'm fairly mechanically-inclined and have a well-equipped shop. I wouldn't recommend attempting this type of repair without plenty of space, a ski vise, and a bench to work on. I also only had $80 invested in these skis so I essentially had nothing to lose if I messed up.
Tools
Panzar and mill files (used for shaping the replacement edge and flattening the repair afterwards).
True bar (to check repaired area for flatness).
Dremel tool with router bit for flattening the core, grinding bit for removing screw heads, and cutting wheel for removing old edge and base.
Syringes and hypodermic needles. I used these for injecting epoxy into hard to reach areas.
Various picks and excavators.
Assortment of C-clamps.
Hacksaw and steel tubing. I cut pieces of tubing to fit the repaired areas to distribute the clamp pressure evenly.
Combination square, scribe, and utility knife.
Heat gun or hair dryer to heat the epoxy to help it flow.
Sandpaper and sanding block.
1 inch and 1/4 inch chisels, hammer.
Drill and drill bits.
Supplies
Replacement edge material, available from Tognar.
Base patches, also available from Tognar.
Screws to hold the edge down. IIRC I used tiny #3 pan-heads, but I would recommend finding countersunk heads if you can, it would make it easier to remove the head after the epoxy has cured. Tognar sells edge screws to go with their edge material.
Slow-cure epoxy. I'm a fan of JB-Weld but other sites recommended different epoxies.
Acetone and lacquer thinner to thin and clean up the epoxy.
Masking tape to protect the ski and keep epoxy from going where it shouldn't.
Toothpicks and a putty knife for spreading epoxy.
A pair of junk skis to practice on first.
Background
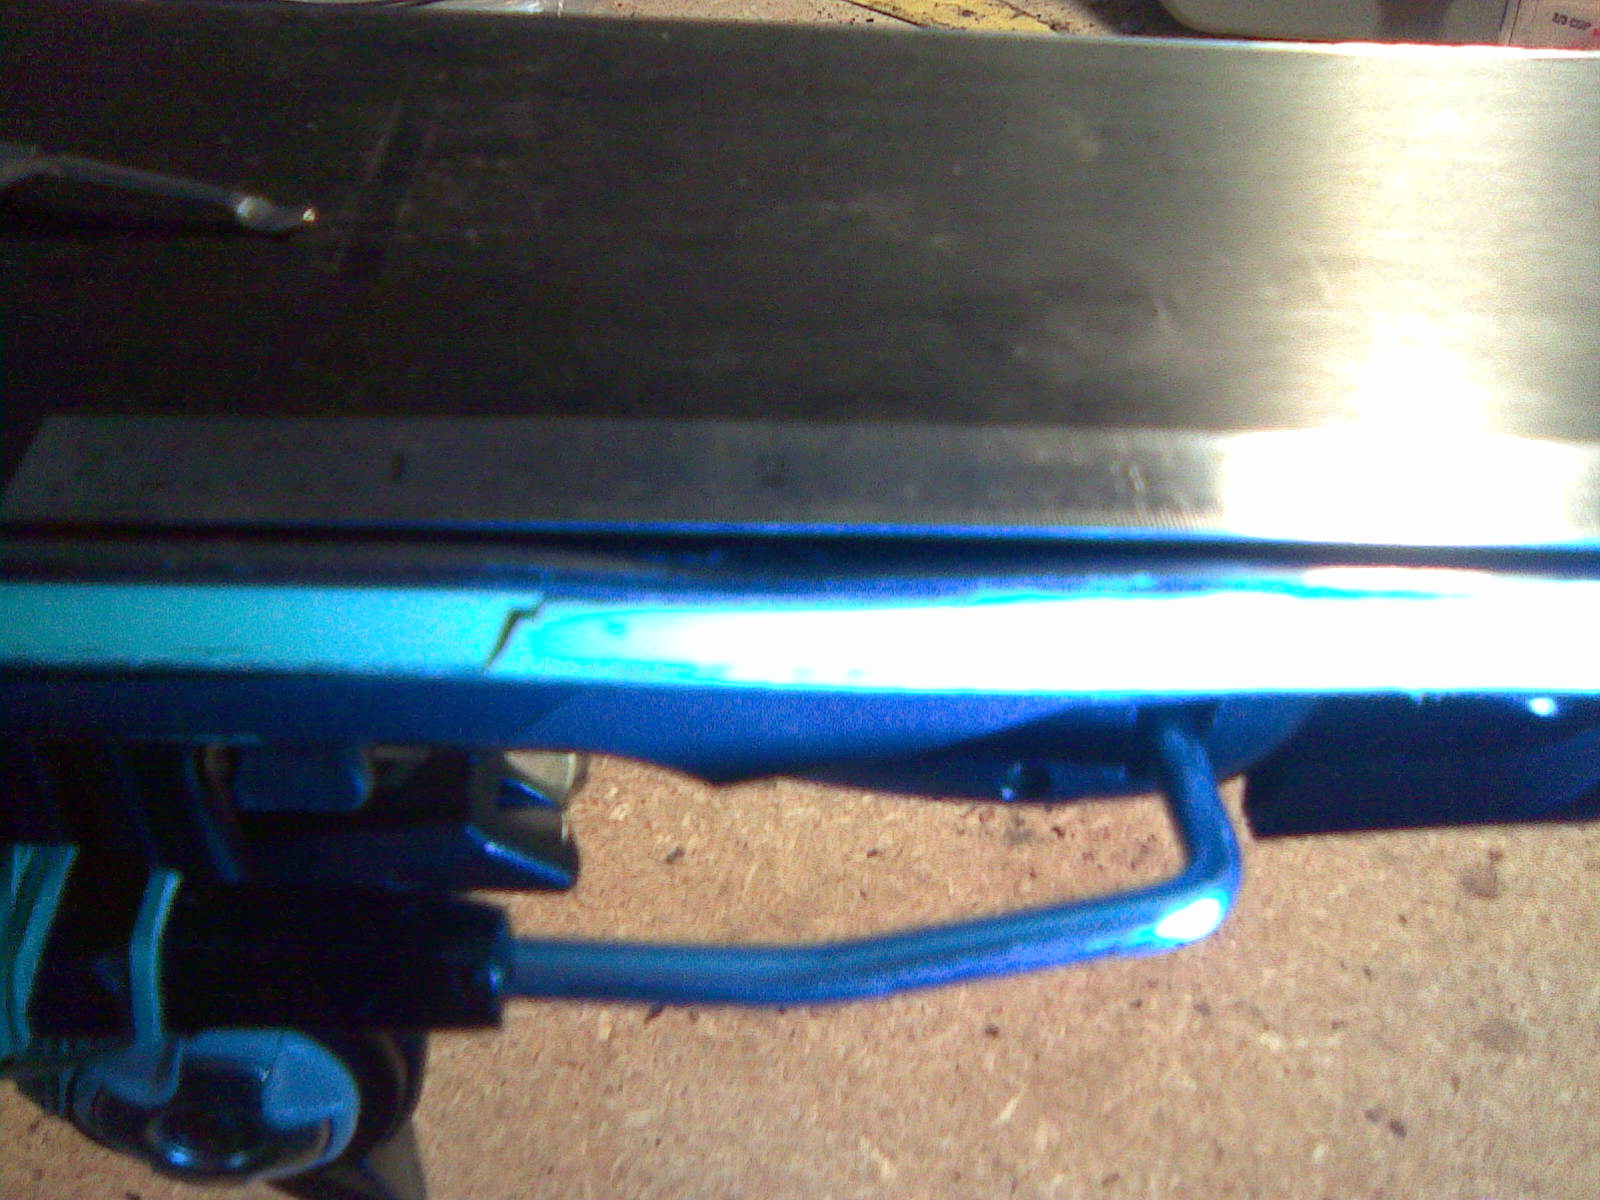
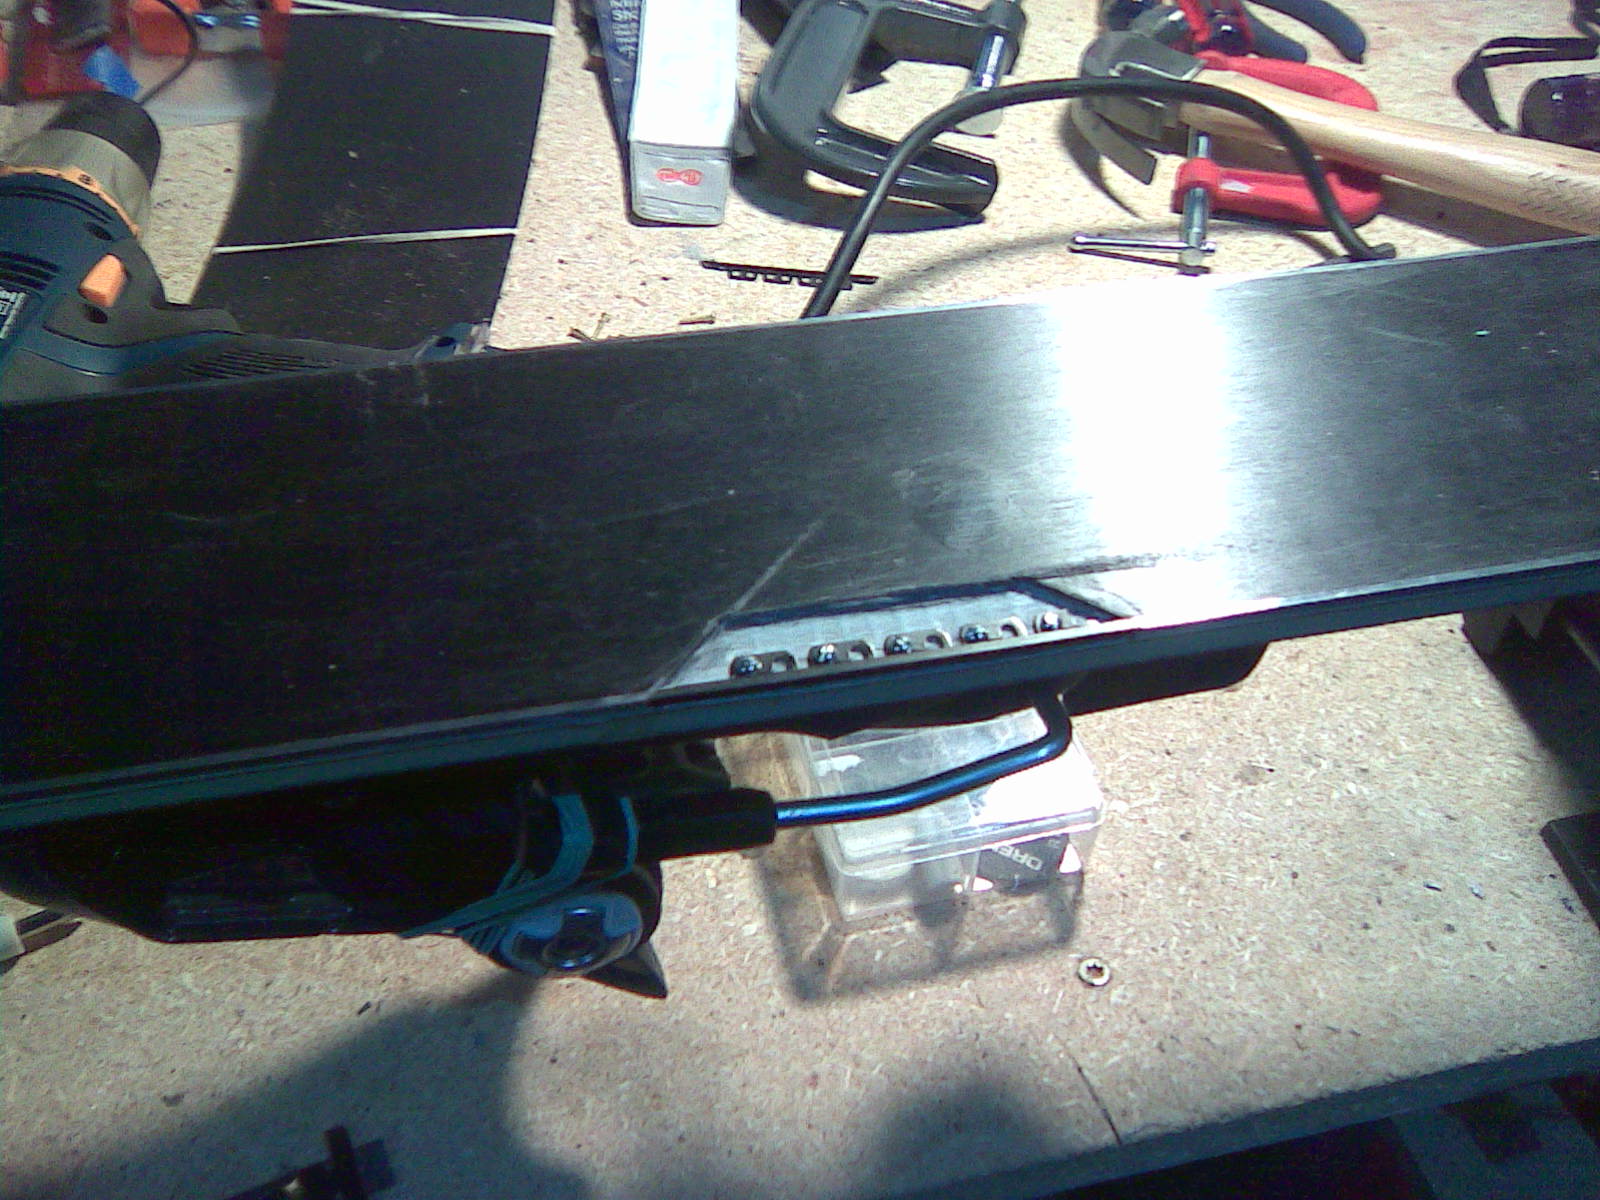
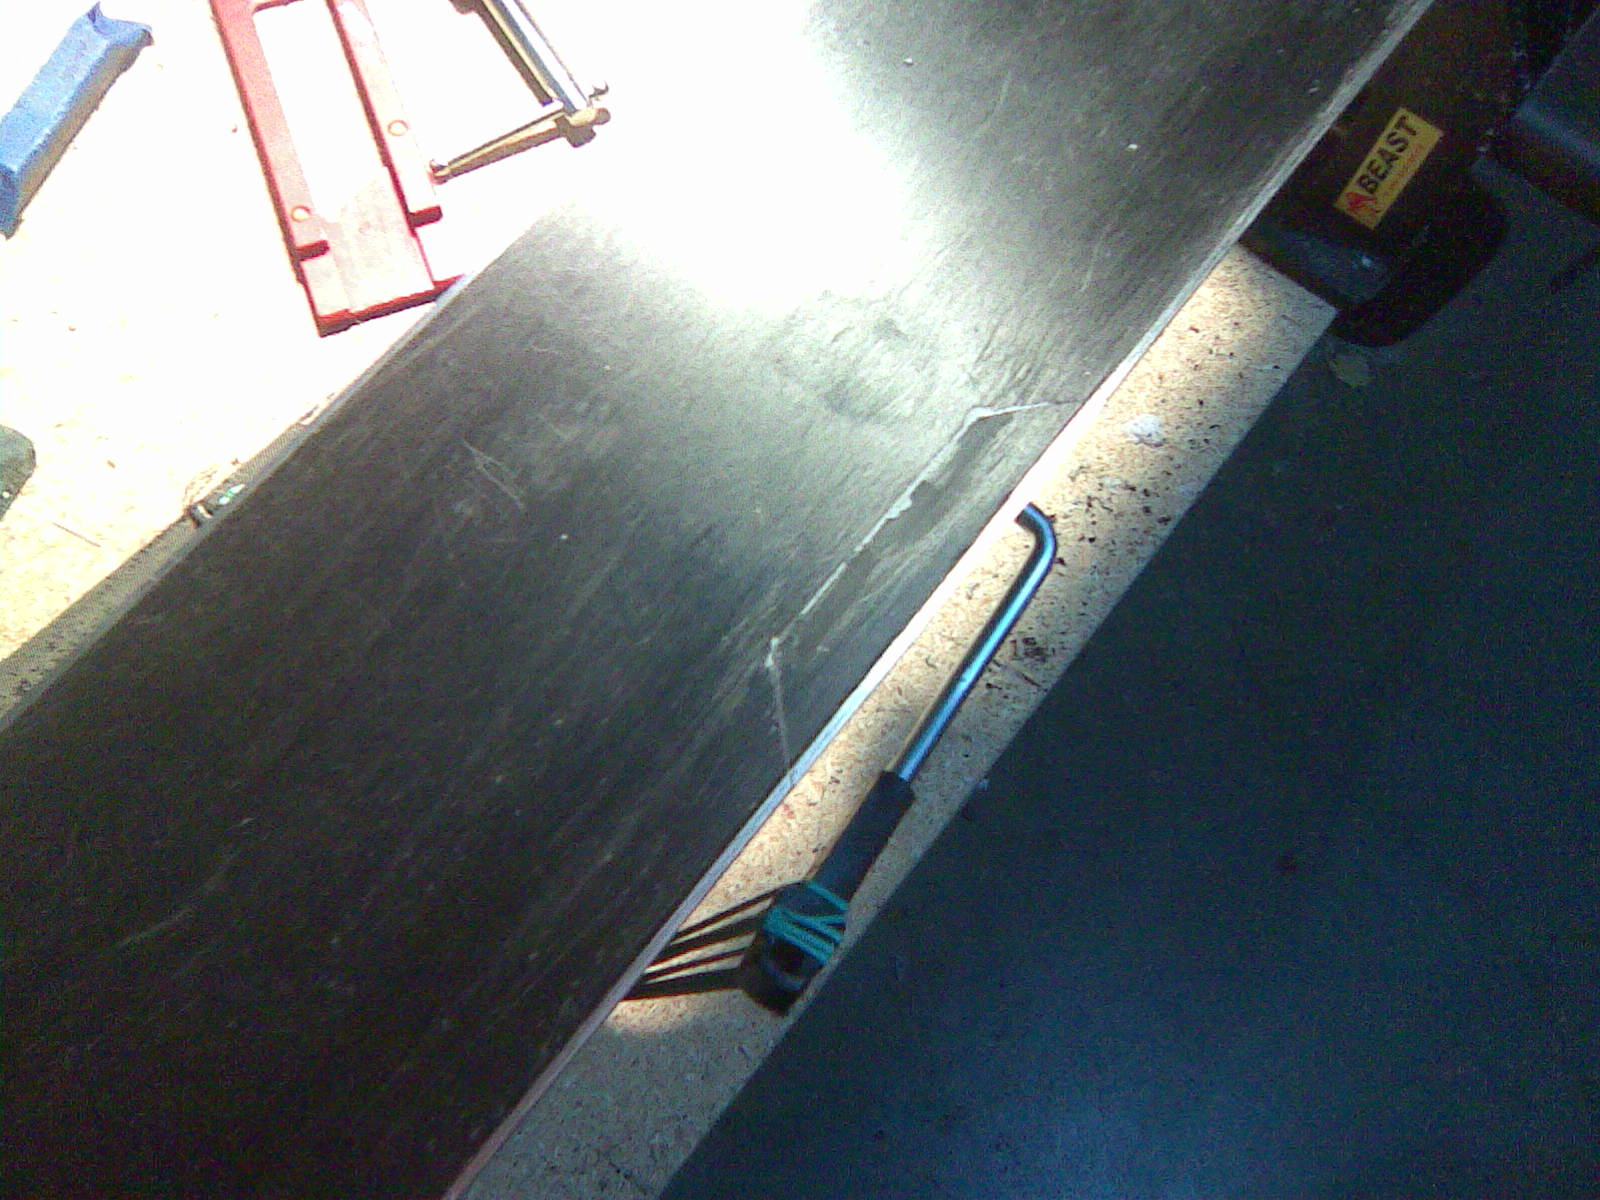
In the photo above (apologies for using a potato) you can see that the core has cracked all the way through. The top-sheet had also separated from the core for a length of about an inch. There is also a smaller crack in the core that is harder to see in the photo. The edge itself was in ok condition, it was slightly compressed but no major damage. Had the core not been cracked I would have left it alone. As it was the skis needed to be repaired as the crack would continue to worsen if they were skied on again.
Step 1: Remove the old edge and base material
Determine the extent of the damage and then scribe lines for the Dremel. One website recommended laying out the repair so as to help hold the replacement edge in place, but a couple other sites made no mention of it. I cut 45 degree lines but in the wrong direction, but the replacement edge is epoxied in place as well as pinned by screws into the core material, so I'm not overly concerned about it pulling out. Mask off the base areas outside of the damaged base to be removed as the cut-off wheel sprays sparks and melting plastic which can damage your base (as I found out) and leave you with more work to do once the repair is complete.
WEAR SAFETY GLASSES! Cutting wheels have a nasty habit of breaking into multiple pieces and flying everywhere.
Using the cut-off wheel cut all the way through the base material and the damaged edge. In my case my skis were constructed with an aluminum plate on top of the wooden core so I had to cut through that as well. Using a utility knife or chisel gently pry up the old base material and damaged edge and remove. I found it easiest to carefully use the chisel and a hammer to pry the old edge off the ski.
When I pried the aluminum plate off it also pulled a few pieces of the wooden core up with it. I wanted to save as much of the original core as possible so in the next step I glued those down.
Step 2: Repair the core damage
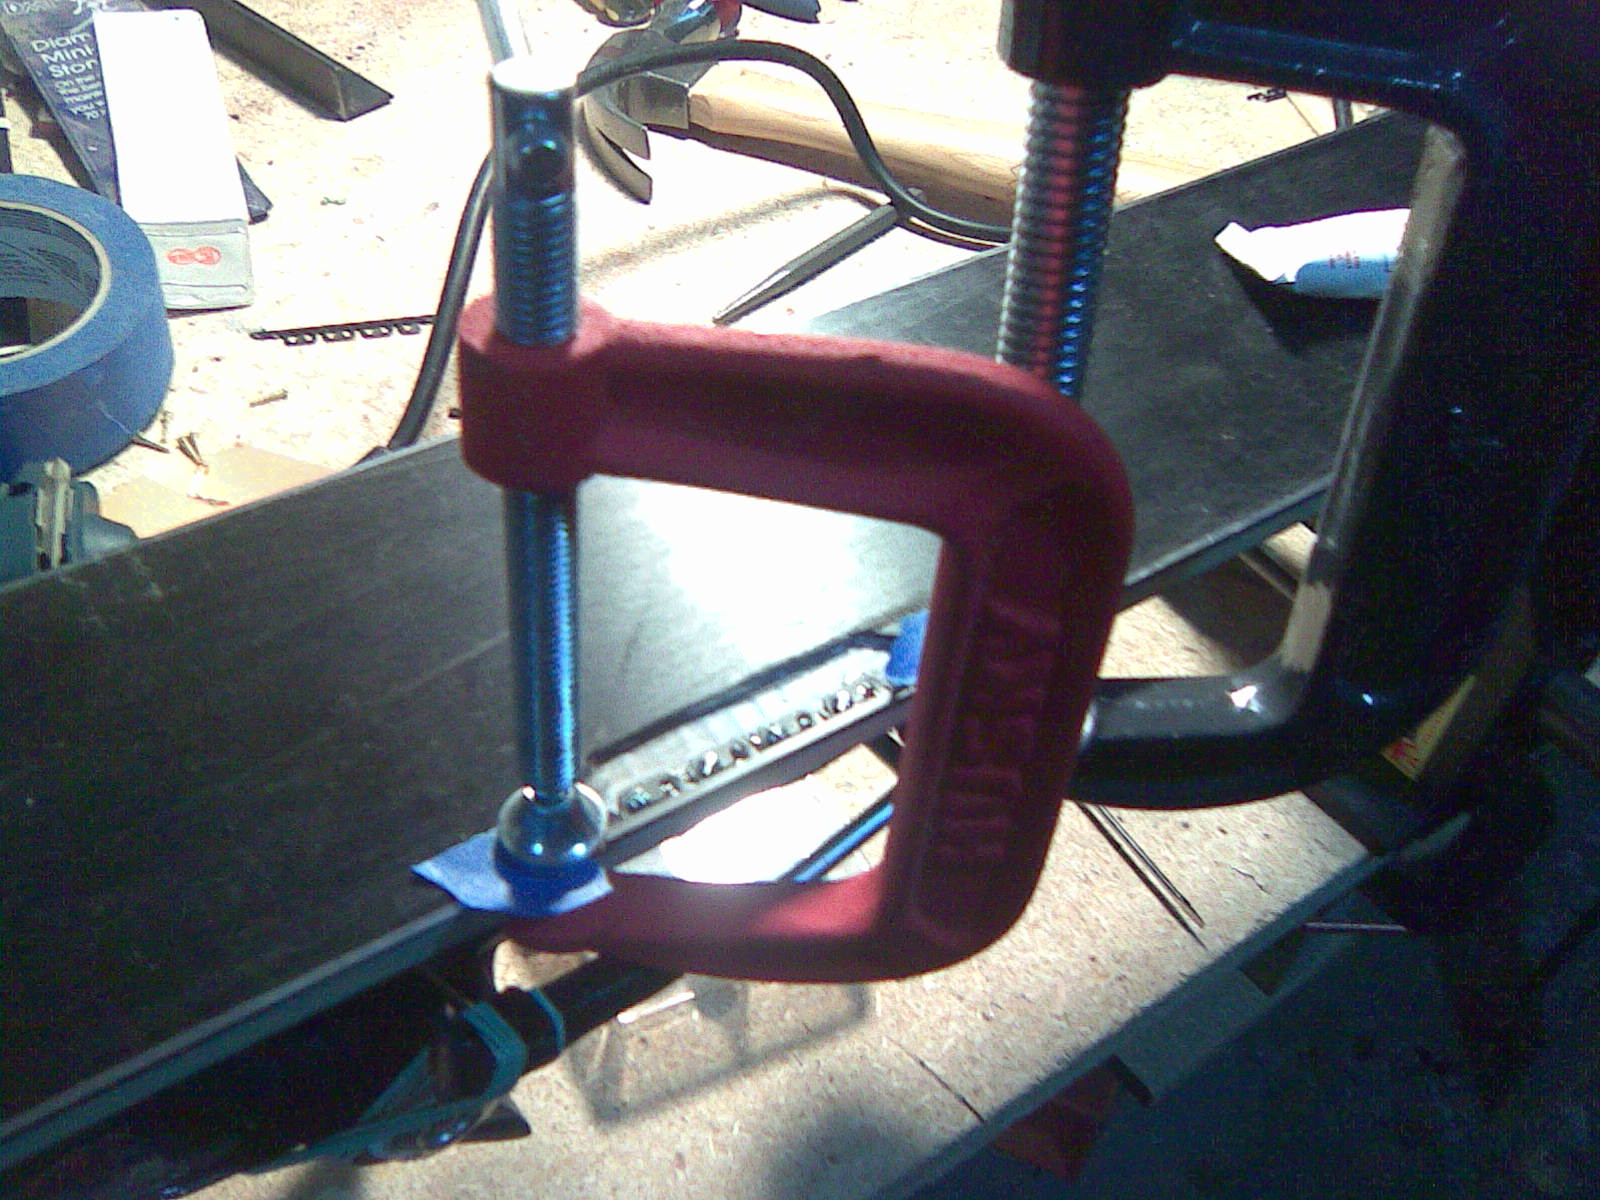
Thoroughly clean the damaged core in preparation for the epoxy or glue. I used the picks to remove any debris and the syringe to flush the cracks with isopropyl alcohol. I had to get creative with the clamps and apply both lateral and vertical clamping pressure in order to get the core to return to its proper shape. I would recommend testing your clamps before applying the glue to make sure the core comes together correctly.
Because I had a wooden core I used wood glue to repair the core as it is very strong when properly clamped and cured. I used a syringe and 22 gauge needle to inject the glue deep into the cracks. I took my time as it's important to make sure that all the surfaces are coated with glue.
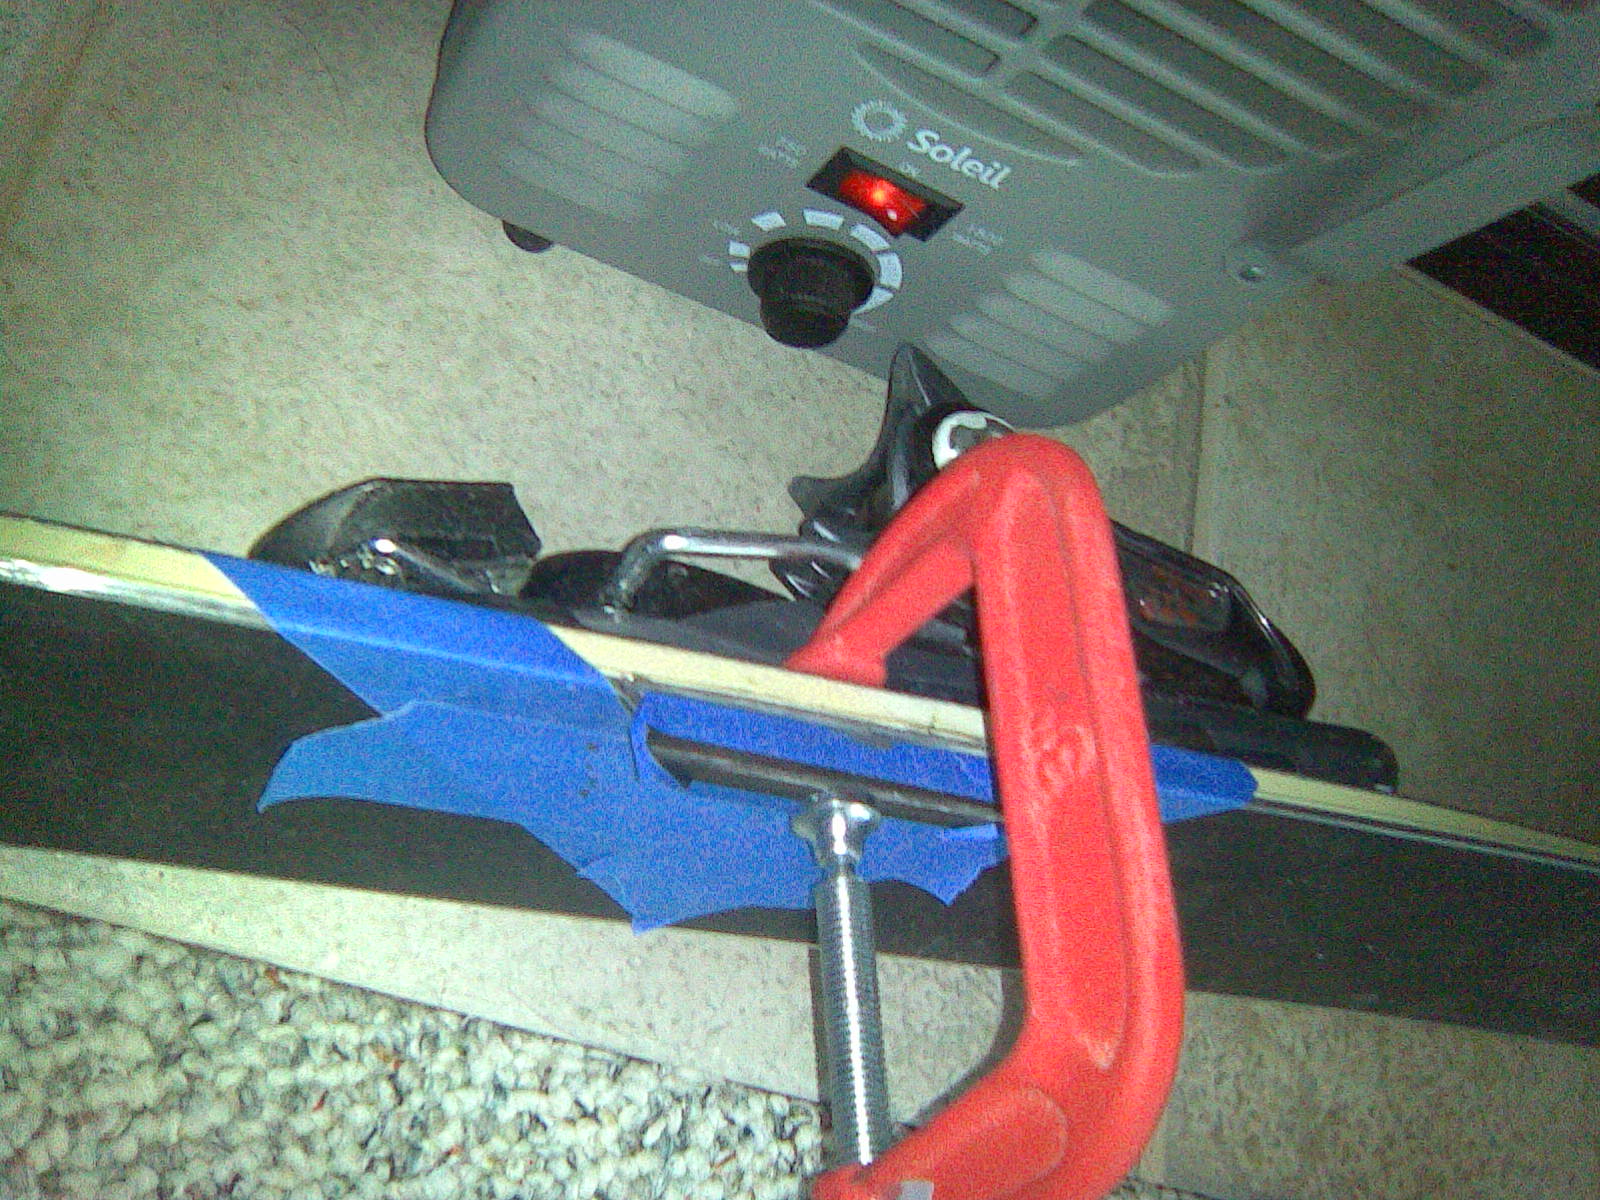
Apply masking tape to the areas you will clamp to make sure you don't glue your clamps to your skis. Allow your skis a full 24 hours to cure in a heated area (at least room temperature!). If the epoxy or glue is allowed to cure below room temperature it will not cure properly and the repair will fail prematurely. Once 24 hours have passed remove the clamps and proceed with the next step.
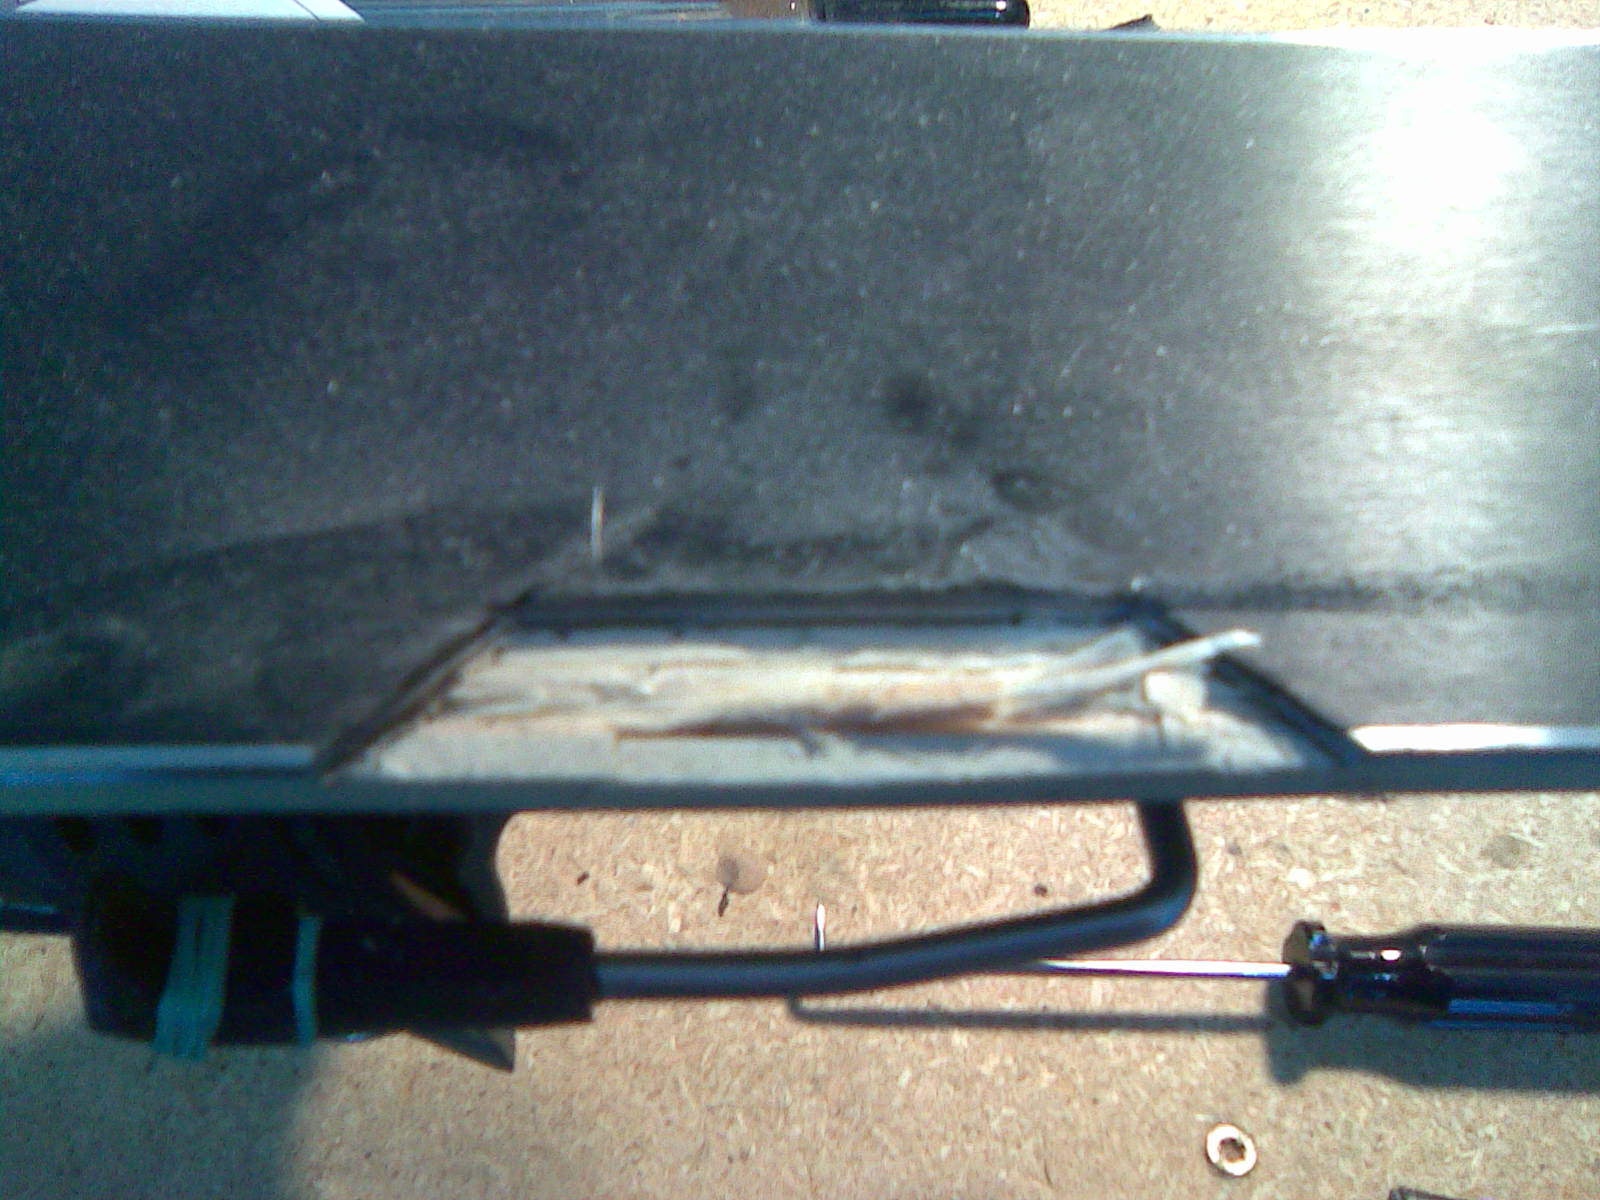
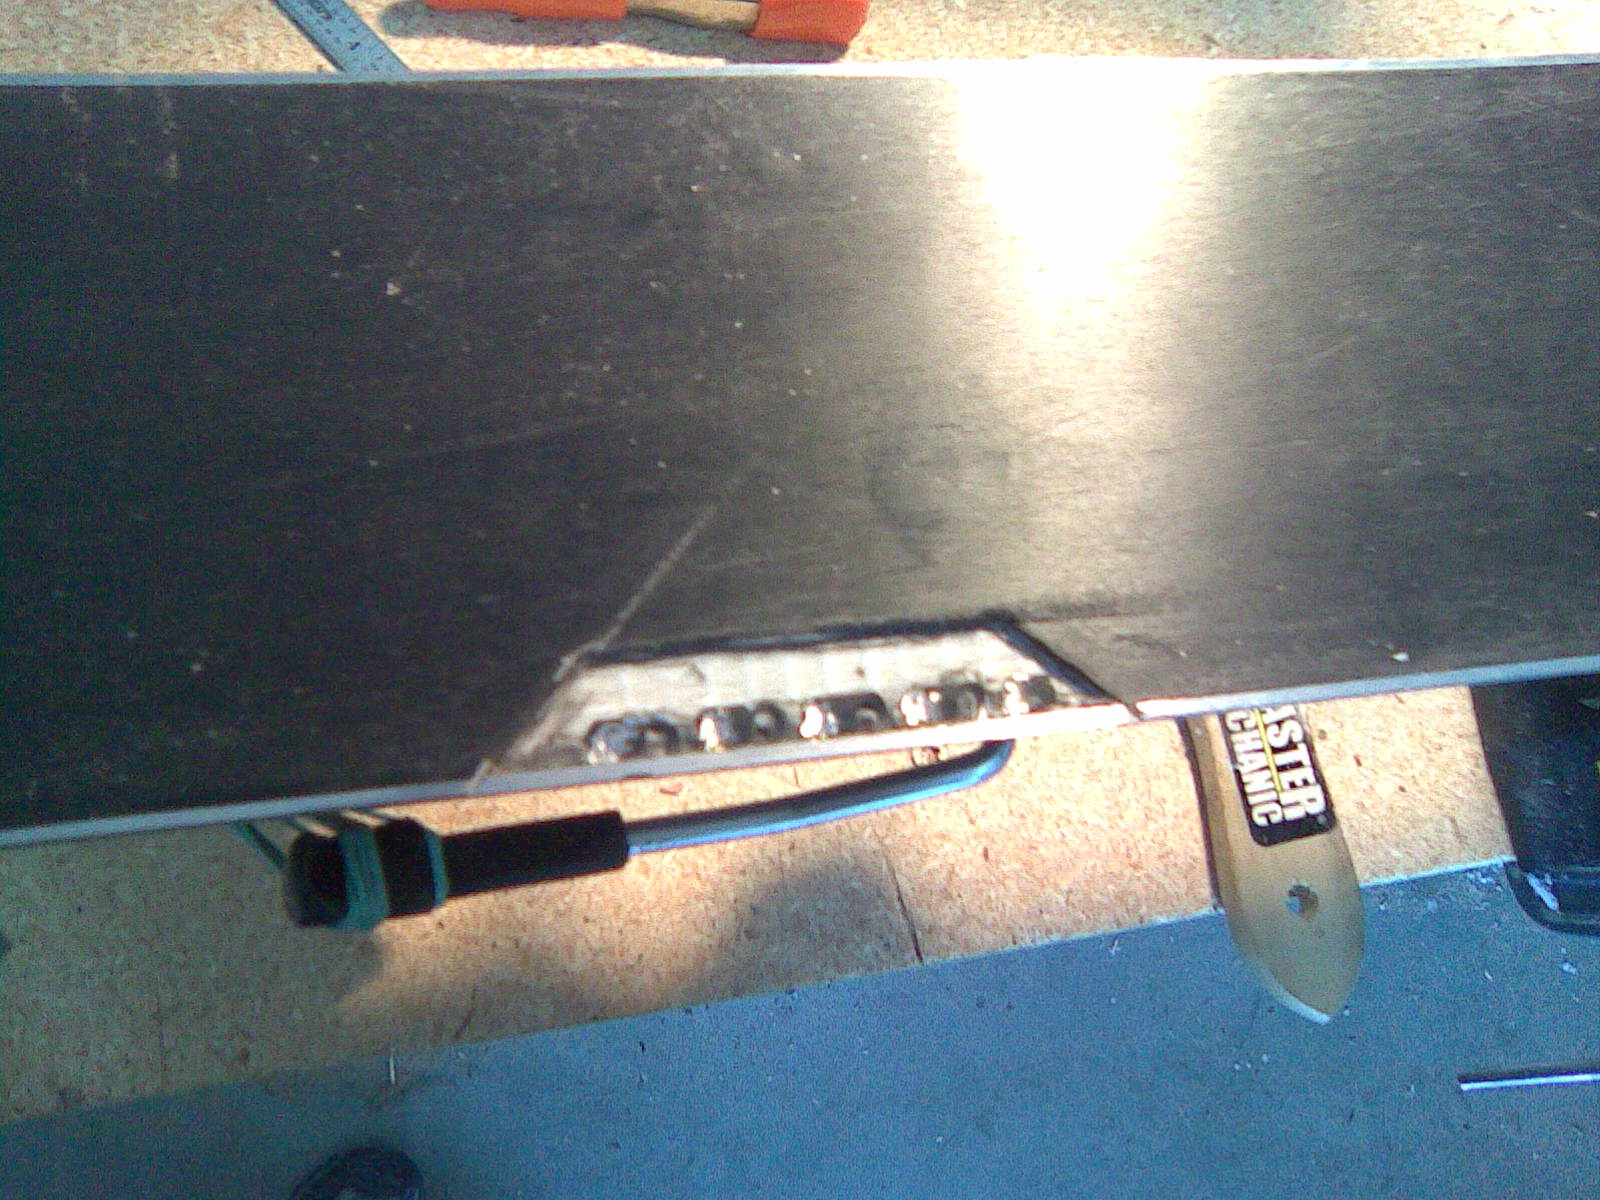
In this photo you can see the marks from the molten plastic that the cutting wheel sprayed onto the base of the ski. These came out when I structured but avoid the problem by masking the ski off before removing the base material!
Step 3: Flatten the core repair
The next step is to flatten the core repair so that the replacement edge will align with top of the original edge. It may be necessary to build up the core with epoxy so that it is tall enough for the replacement edge to mate properly.
In my case I had to re-install the piece of aluminum that I had removed in the first step. I sanded the wooden core in preparation for epoxying the plate down. Next I used acetone to clean the wood although I later found out that acetone will dissolve wood glue, so be careful! In my case I didn't use much and it didn't seem to damage the glue.
The plate also had pieces of wood and fiberglass still glued to it so I used the chisel to scrape it flat and then cleaned it with acetone.
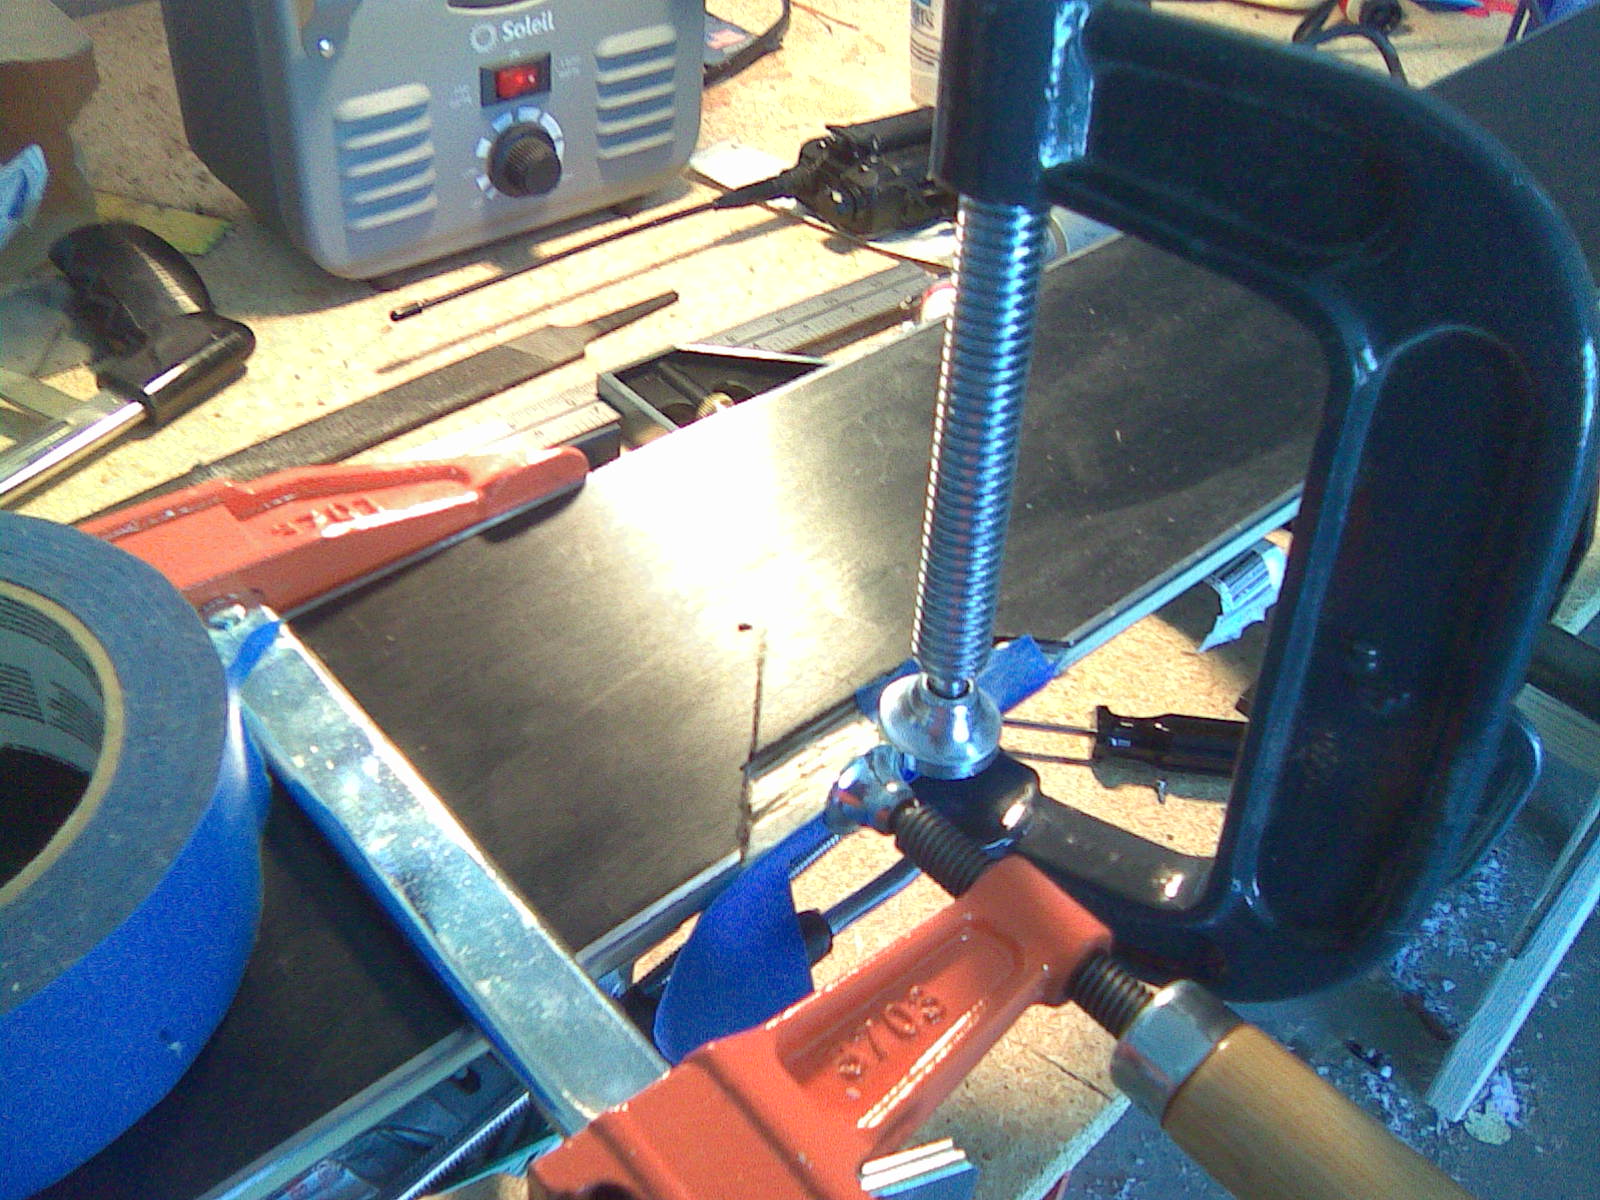
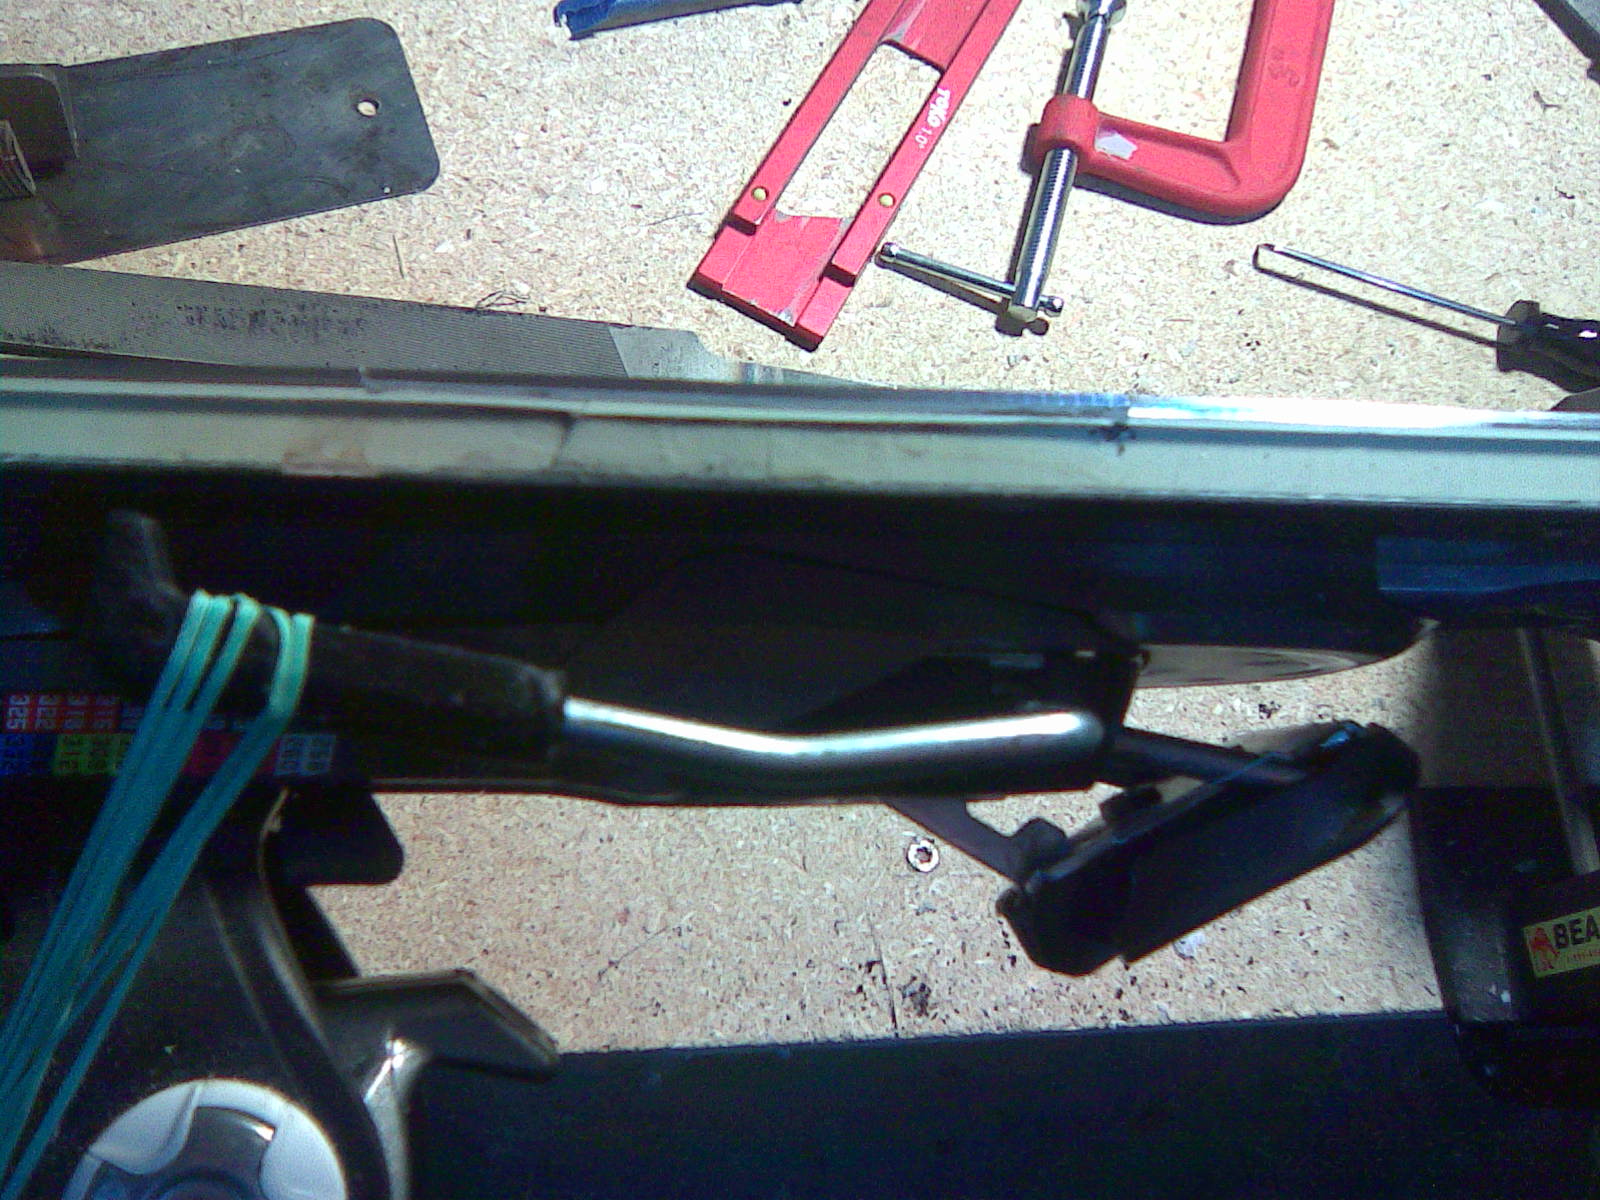
When I pried the plate up I gave it a bit of a bend so it wanted to curl up at the edges. To apply clamping pressure across the entire plate so it would sit flat I cut a piece of square steel tubing to cover the entire plate. I masked off this piece of tubing with masking tape so it would not become glued to the plate on accident.
Next I mixed enough epoxy to cover the entire repair area and also fill in the parts of the wood core that had been pulled out when I originally removed the plate. I used toothpicks to cover the entire area with epoxy and heated it with a hair dryer to help it flow into the nooks and crannies in the core material.
I carefully aligned the plate so it was square with the outside of the ski but I wasn't careful enough because when I clamped it it moved a couple of millimeters back from the edge, which I didn't notice until the clamp came off. I later filled the depression with epoxy so no harm done.
I applied the clamp and allowed the epoxy to cure for 24 hours at room temperature.
Step 4: Prepare and install the replacement edge
Cut the replacement edge slightly longer than you will need to allow for hand-filing for a close fit. This is a bit of an art so take your time and do your best. My first edge on my practice skis wasn't too great, the second one I did on my good skis was better but I still ended up filling a small gap on one side with JB-Weld. You want the edges as well as the bottom and the inside of the repair and original edges to line up. It's ok if it doesn't align on the bottom or the outside of the ski as you can take it down with a file after the repair is complete.
Once I had the repair edge filed to my liking I used a center punch to mark locations to drill for the screws. The screws do two things. First, they help hold the edge down until the epoxy cures, after which you use a grinding bit to remove their heads. Second, they act as shear pins to help hold the edge in place in the finished repair.
Next I measured the depth for the drill and marked it on the bit with a piece of masking tape to act as a stop and carefully drilled the holes. I then screwed the replacement edge down again to check the fit before applying the epoxy. Once I was satisfied that everything looked ok I applied epoxy to the entire mating area of the edge and set the edge in place. Then I applied a dab of epoxy to each screw before screwing it down. Then I masked off a couple of clamps and clamped the very edges of the replacement edge as they were far from any screw and because of the tight fit liked to buckle up. The clamps forced them into place.
Step 5: Grind off the screw heads
You have to be real careful on this step as it's easy to let the grinding bit slip and put a divot in your new edge. After a couple of near misses I masked off the new edge to help protect it for any wayward grinding tools. It's also a smart idea to mask off your base.
Use a grinding bit and grind the heads off the edge screws. You want to move between screws as you work to avoid heating a screw too much and damaging the epoxy.
I also had to remove some epoxy with the chisel so that the replacement base material would sit flat.
Step 6: Install the replacement edge material
Cut a piece of base material a little bigger than you need so you can file it for a close fit. Once you're satisfied clamp in place and allow to cure. I masked off a metal scraper and used it to distribute the clamp pressure over the entire repair.
At this point I also filled a small gap (~1/2 mm) between the replacement and original edge with JB-Weld using a putty knife. I also filled the gap caused by the mis-aligned aluminum plate.
Once the epoxy has cured use the panzar file to flatten the repair, checking often with the true bar and a light. I also used the panzar file to set the base and edge angles to save time. Structure and tune as usual!
These photos are of the finished repair. I applied a bit too much epoxy to the base repair so it ended up coming up a bit along the sides, but as I don't race I really don't mind. I did a bit more flattening with the panzar file after these photos were taken as I didn't like how much material I was removing so I took the skis out for a trial run and they had a fair bit of “weather helm” at high speed which made it obvious that they weren't quite flat yet.
Side view of the finished repair. You can see where I filled with JB-Weld. The crack in the core is filled but it is still visible, I really don't care how the skis cosmetically look as long as they function.
Bottom view of the finished repair. The JB-Weld came up along the sides of the base material. It's not quite as bad after the flattening as it appears in this photo but it's definitely still there. It should only have a small effect on the ski performance so I'm not that concerned.
Aftermath
I've had the skis out twice since finishing the repair and I'm quite pleased with how they're holding up. The real test will be if I take a rock hit on the same area and I'll update this page as time allows. This repair took quite a bit of time, I was working on the skis for almost a week because of time constraints and having to allow the epoxy to cure 24 hours between each step.
References
- http://www.telemarktips.com/BaseRepair.html
I followed the TelemarkTips tutorial when doing this repair.
- http://skibuilders.com/articles/epoxy.shtml
Very informative article on the proper use of epoxy as it applies to skis.
- http://www.youtube.com/watch?v=MzC4kj7-HX4
Tognar.com's edge replacement video.